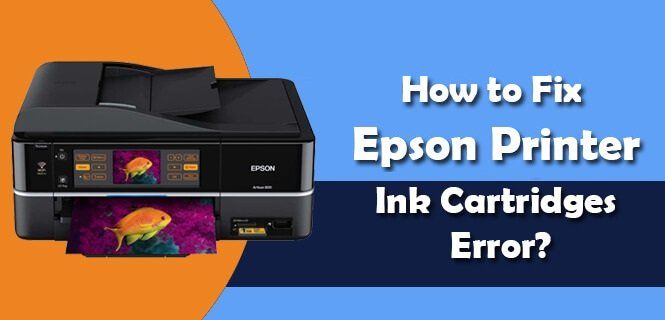
Step-By-Step Guide to Fix Epson Printer Ink Cartridges Error
- By Alana Marshall
- •
- 04 Jul, 2018
Are you getting some error while printing form your Epson Printer? Is it ink cartridge error? Oh, don’t worry at all; as you have reached to the right place for its solution. Here, you’ll learn how to fix this problem in just a few minutes. But before proceeding with further steps, make sure to use Epson genuine ink as it will give your printing machine a longer life and increase the efficiency. If the duplicate ink is used, then it may harm the printer and warranty will also void.
So, move ahead with the instructions given below:
Always consider Epson Printer Customer Support Number New Zealand 092805551 for any technical issue faced in your machine. As buying a new printer for such issues, which can be corrected at home will be a great loss of money to you. When a user talks about the branded printer, then Epson comes on the top. After working for long on the machine, it may need little maintenance. Therefore you should call us on our toll-free number to get the guidelines for how to properly handle your Printer. In case, you confront some technical issue or another difficulty to make your machine in working position, then feel free to contact us. We have well–trained and experienced engineers, who can solve such issues within the short time.
Original source
So, move ahead with the instructions given below:
- Withdraw the ink cartridges and be cautious when you grasp it as it may seepage some ink through the ink supply port.
- Never move the rollers to another position by your hands as it may harm the printers.
- Once you take out the cartridges, remove the dust with the help of cotton balls or via alcohol.
- Also, clean the cartridges chip smoothly and ensure that you don’t harm it.
- Check for all the cartridges that they are in the correct slot. If required then follow the colored indication to insert the cartridges in the correct way.
- Now you have to check that the cartridges are suitable for your Epson printing machine. A user can read the manuals that came with the printer or confirm from the dealer about the same.
- You should also remember one thing that never leaves the printer without the ink cartridge for too much time as the ink may dry and later on causing some printing issues.
- Ensure that the plastic at the bottom of the ink cartridge has been punched. If not, then you can use a knife to remove it.
- If the issue still persists, then switch on the printing machine and discard the unrecognized cartridges. Switch off the machine and wait for at least 10 minutes and then turn it on again. Install the cartridges back into the position. You need to change the ink cartridges if the problem is not solved yet.
Always consider Epson Printer Customer Support Number New Zealand 092805551 for any technical issue faced in your machine. As buying a new printer for such issues, which can be corrected at home will be a great loss of money to you. When a user talks about the branded printer, then Epson comes on the top. After working for long on the machine, it may need little maintenance. Therefore you should call us on our toll-free number to get the guidelines for how to properly handle your Printer. In case, you confront some technical issue or another difficulty to make your machine in working position, then feel free to contact us. We have well–trained and experienced engineers, who can solve such issues within the short time.
Original source
Epson printer is an American product used by office and home users to meet their daily printing requirements. It comes in the different range of different features and functionality. One can choose this brand to have best quality prints and nonstop functioning to the machine.
A remote subnet is another network that is linked to your existing network. If you want to connect your All-in-One Epson Machine to a remote subnet network then the Epson should be configured on an IP address.
First method: From the Printer Selection
Second Method: From the Network Printer Configuration window
Original source
A remote subnet is another network that is linked to your existing network. If you want to connect your All-in-One Epson Machine to a remote subnet network then the Epson should be configured on an IP address.
First method: From the Printer Selection
- We will start the first method to add a remote network printing machine from the Printer Selection. First, open the Epson software installed on your system.
- Navigate to the menu bar, select Advanced to open its menu.
- Locate Select Printer button and click on it. This will open its Selection window.
- Now, select Add Remote button to add Epson in the Add Remote window.
- Click on Add Single Printer for the single printing machine and enter the IP address of the remote network printing device.
- To search all the present printing machines on the subnet, click Search Subnet. Type the IP address of the subnet and click OK on the Available window.
- Choose the Epson machine from the list and click on Select.
Second Method: From the Network Printer Configuration window
- Open the software of the Epson to begin the procedure.
- Click on Advanced tab from the top of the menu.
- Once this is done, navigate to Network Printer Configuration to open its dialog box.
- Now, click on Add Remote. In the Add Remote dialog, do the following:
- Click on Add Single Printer to add only one configured printing machine in the list, and enter the IP address as done in the first method.
- To look for available printing machines on the Subnet, click Search Subnet and then enter the IP address of the subnet.
- Hit OK and then Done.
Original source